Okay friends, confession time. I have been a tad lazy in the old appearance department. I used to find it hard to leave the house without makeup on, now it’s the opposite and I can go for a week without even applying foundation (shock horror!) While I wholeheartedly admire others that feel comfortable doing this full-time, I love the feeling of togetherness that ‘putting a face on’ gives me.
With a new baby, and not much extra energy, I’d found myself in a rut and I needed a push to sort myself out. What better way to get reinvigorated to look after myself than a chat with my friend and prominent Queenstown Makeup Artist G.
She came over, I made the coffee, she spilled the beans and together we put together a 10 step makeup plan that has got me out of my funk. And we did it without having to spend a million dollars and an hour applying everything, because let’s be honest, not many mums have the luxury of either of those things.
Before I break it down, I want to share with you the bombshell that this insanely talented makeup artist shared with me (surprisingly it has nothing to do with makeup!) The number 1 request from 90% of her clients over 30 years old is “Just get rid of my wrinkles.” Wow. This is actually pretty hard to do with makeup. Instead G’s motto is “Good makeup comes from good skincare.” I had no idea we would spend so much time talking about skin care but she’s 100% right. It all starts from here.
Personally I have been pretty good with my skin (to a certain degree) and I can go into this in another post but I want to keep this snappy for y’all so here is the top 10 that we thought would fit my “Makeup Shake Up : The Mum Edition”
1. Sunscreen
Sunscreen takes out the number 1 spot, because prevention is better than a cure right? So let’s work on preventing these “wrinkles” before they appear. I always thought that because I wore so much make up (hello skin insecurities) that I didn’t need to apply sunscreen. I WAS SO WRONG! So we need a Sunscreen with SPF of at least 15. If, like me, you find it too thick or greasy, G suggests mix with a little moisturiser.
Preferred Product : Oasis, suggested by G and what I already use on the kids and love. Oasis has zinc as part of its formula which helps to prevent sun damage/sun spots that can appear as we get older.
2. Cleanse
I currently use a Cetaphil brand cleanser that is applied and then washed off with warm water. Cetaphil was originally recommended by my dermatologist when I had psoriasis in my 20s. I like it and I’ve stuck to it. G uses the Nellie Tier range and swears by it.
3. Moisturise
We suggest the following combo for the best results.
– a day cream
– a night cream
– an eye cream
Okay you thought this was about make up didn’t you?! It’s coming! Here we go.
4. Foundation/BB cream/Tinted moisturiser
Choose what works for you but I like a good amount of coverage. G called my preferred product a heavy/full coverage style, which she likes however she did suggest that it might be too much for a day look for a lot of people. It can get a bit spendy having to buy 2 products (for day and night) so G advocates adding a small amount of your moisturiser to your foundation to thin it out slightly for day use. Genius.
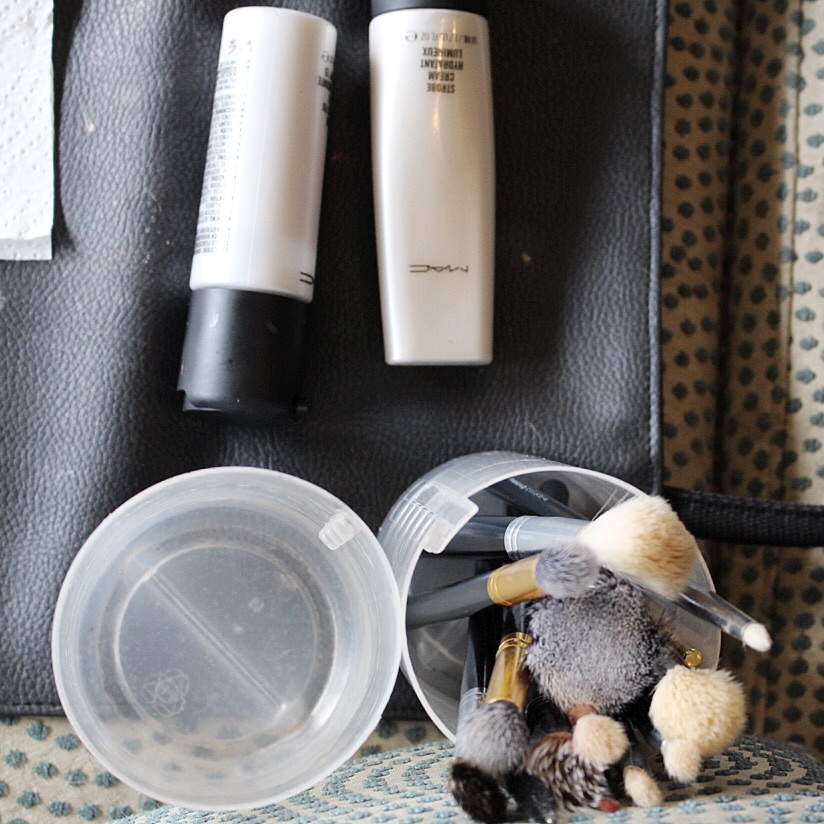
Preferred Product: M.A.C Cosmetics Studio Fix Fluid has been my fave for years now and G loves using this on her brides too. So I’m basically rocking bridal every day. In my active wear. Standard.
5. Concealer
I had one of these hanging around in my make up bag but only used it for blemishes. Well well well, people, this is not the case at all! Concealer is apparently the best thing to use under and on your eyes as it is specifically tested on this area. Foundations aren’t. The pros use concealer for correction AND brightness, not just blemishes. Who would have thought! G explained that a concealer that has a warm undertone colour to it is great for under the eyes as it helps to counteract any dark circles. Well, none of us have any of those, do we?! Ha!
Preferred Product: If you’re saving your pennies, then a super affordable concealer is L.A Girl Cosmetics. If you’re keen to splurge, G would recommend M.A.C Cosmetics Prolong Wear Concealer or Urban Decay Naked Skin.
6. Highlight pen
Here is a new one for me. G showed me how to use this nifty wee pen to highlight under my eyes (did I mention I have a 2 year old and a 8 month old? The struggle is real.) and on the sides of my nose, pulling away towards the cheek bones. Basically where the light would hit your face. After seeing the results this went on my ‘To Buy’ list.
Preferred Product: M.A.C Cosmetics Prep + Prime Highlight Pen
7. Bronzer
I was embarrassed to confess I use Thin Lizzy Bronzer but G didn’t make me feel like an uber dorky mum at all. She did show me some new tips for applying, though. With a fluffy brush you are contouring (magical mystical word for anyone else?!) under the cheek bones and buffing up. Whip out your fluffy brushes people. Start at your ear and buff it up and out – follow just under your check bones, not too far past the outer corner of your eye. The aim is to make the shadowed areas more dramatic. Apparently the key to contouring is to ‘shadow the low planes and highlight the high planes’.
Still with me? Apply a gentle touch of bronzer around the temples and under the chin. Not on the chin though. The chin, and the other high planes (on top of your cheek bones, below your temples) of your cheekbones are all about the highlighter.
8. Blush & Powder
Yes, grandma was right, blush is just lightly brushed onto the apples of your cheekbones.
Preferred Product: M.A.C Cosmetics in the colour Melba is a great blush that suits all skin tones
I LOVE me a good powder, I feel it helps give me an even, finished look.
Preferred Product: If you want to splurge, the M.A.C Prolong Wear Pressed Powder is amazing, or for something more affordable, the Australis range have some great powders – the Banana Powder is great if you’re just after something for your T-Zone.
9. Brows & Lashes
I go weak for a good brow, and I knew I was in good company. G guided me towards a waxy brow pencil instead of powder that I was currently using. For application, go with upward motions in the direction of the hair growth. Afterwards, brush the product through to soften. I have used this once and cant believe the difference it has made! Some people may like a brow gel which is a lot quicker to apply.
Preferred Product: If you’re after something waxy, the M.A.C Cosmestic “Eye Brows” Twist Pencil is great or any of the Anastasia Beverly Hills brow products.
I have used Maybelline Great Lash Mascara for a long time now and love it so give those lashes a double coat before moving on to your lips.
10. Lip treatment
Surprisingly, G said for day to day she just uses a good balm, and this is me to a T. If I have everything else done then I don’t actually feel I need colour on my lips. However, if you were listening to G’s mum she would tell you that it frames your face. If the plan was meeting people for lunch etc. then I would choose a lip liner and then balm or gloss. I used to think liners where dated, but I am in love with my liner. It keeps everything where it is supposed to be!
Preferred Product: Nellie Tier Lip Balm and an awesome lip pencil is M.A.C Cosmetics “Subculture”. It’s the perfect nude that still gives a little colour.

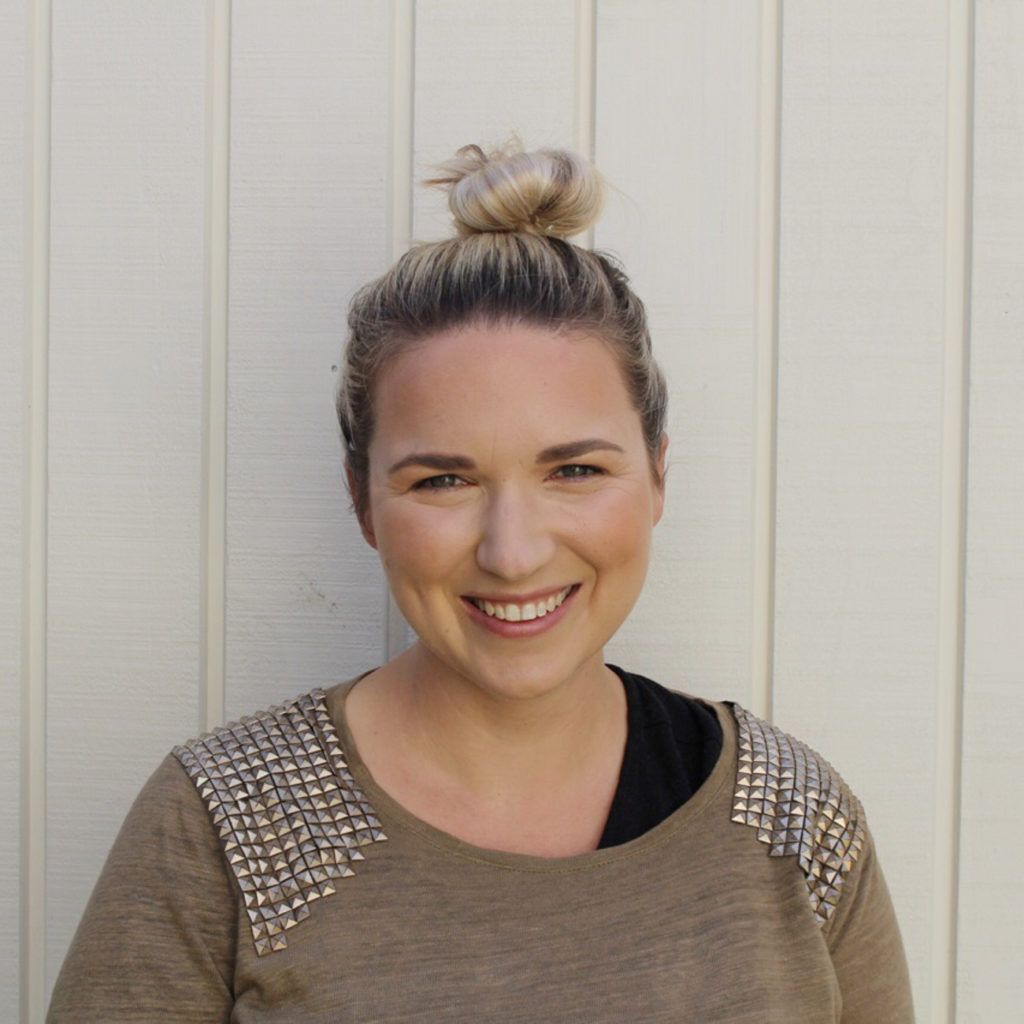
I totally need my hair done (#mumbunforever) and what is going on with my top BUT the make up people, love the make up.
Right team, so that was my brief Top Ten to get me back into the world I am more comfortable in! Truthfully, I wrote a HUGE post with a lot of info and tips from G but the article felt too heavy. If you like this post let me know and I will write up Part 2!
This post was not sponsored by anyone just products we wanted to share with you. G & I both love M.A.C so that is why it pops up a lot.
To see more of G’s work check out Instagram Facebook
xx Jana


Leave a Reply