
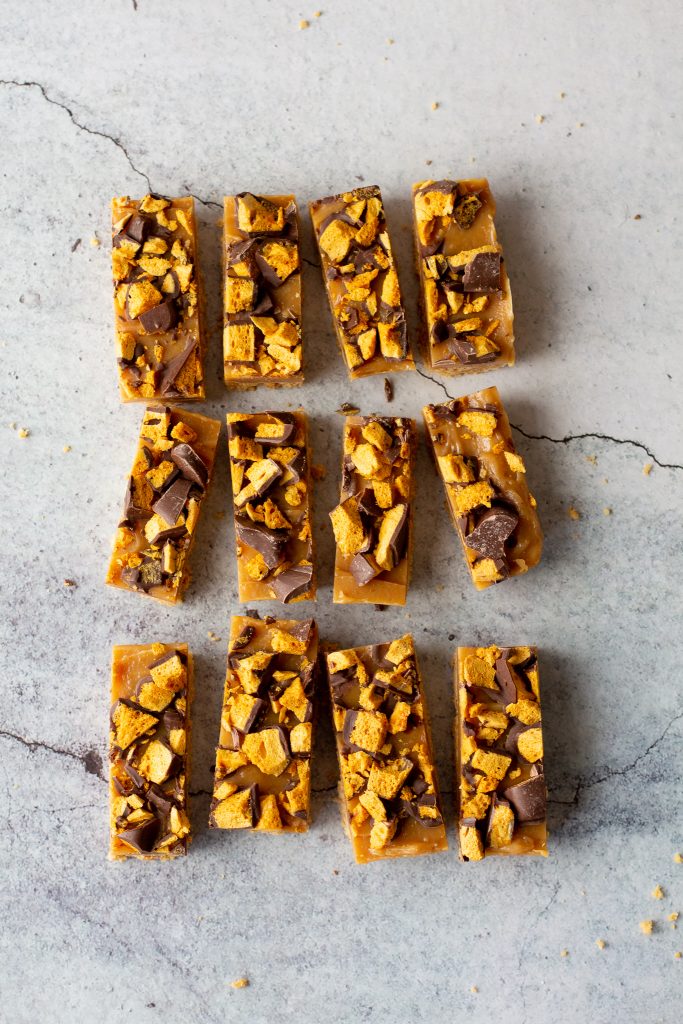
You’ll love these no bake Caramel Honeycomb Bars, they are super delicious, only use a handful of ingredients and are so simple to make.

If your family is anything like mine, they enjoy a sweet treat occasionally.
These Caramel Honeycomb Bars are perfect! I’ve used the Choc Honeycomb Bites from Countdown, which are chocolate covered nuggets of honeycomb. Crunchie Bar would also work well ,
There is also a layer of caramel, and a biscuit base.
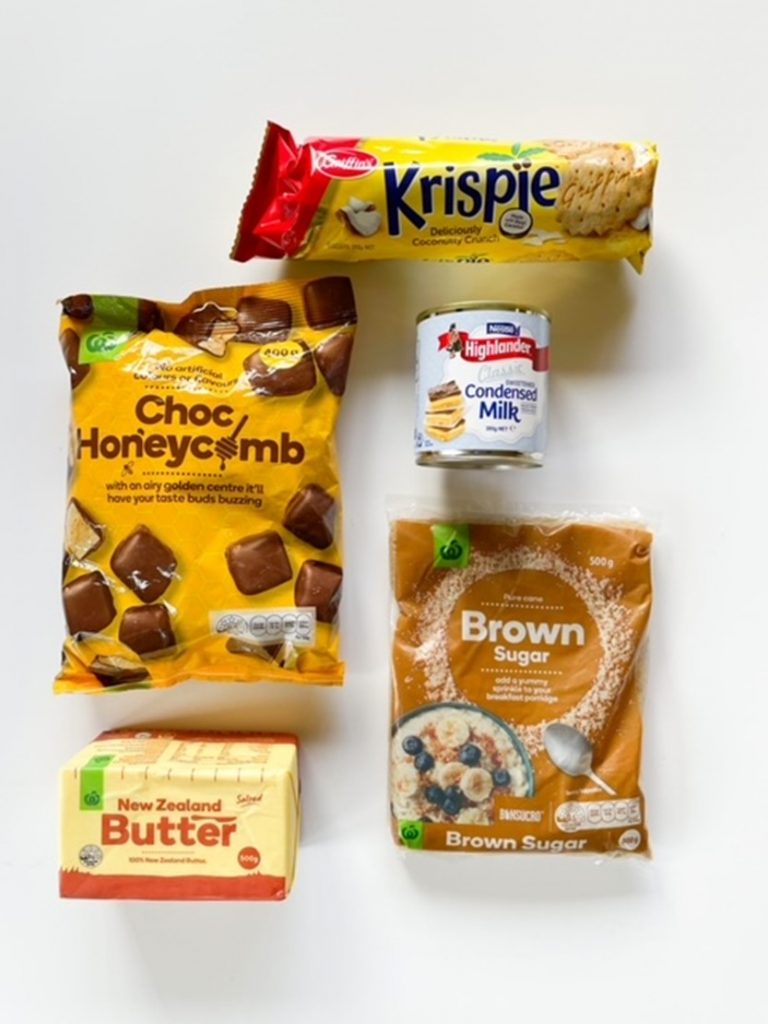
The base of this recipe is simply biscuits and butter. I have used Krispies biscuits which have coconut in them and are delish, you could use malt biscuits instead.
The Caramel topping is made from butter, sweetened condensed milk and brown sugar. Then you scatter the top with those honeycomb bites.
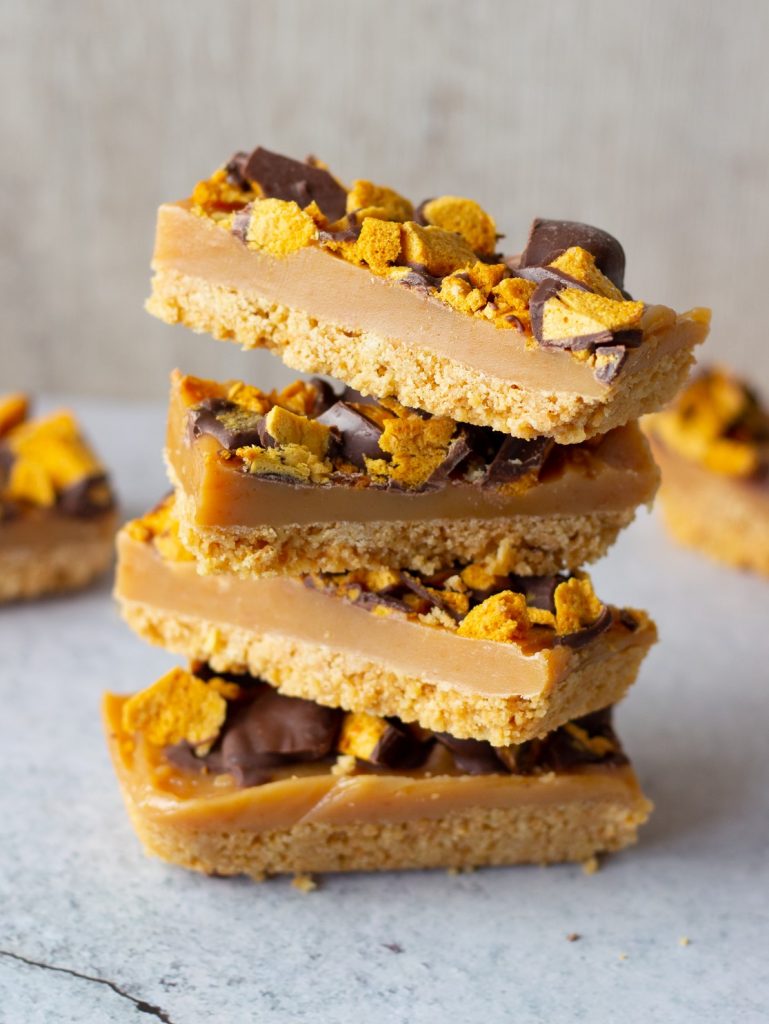
How to make Caramel Honeycomb Bites:
First grease and line your baking tin. I use my 18cm x 28cm tin for this recipe. When lining, allow some overhang so that it is easier to remove once it is set.
To make the base, you process the biscuits in a food processor until finely chopped. Add melted butter to the biscuits and process again until just combined. The mixture should feel like wet sand here, if it is too dry, you can add a little more melted butter. Just 10 grams at a time, and mix again.
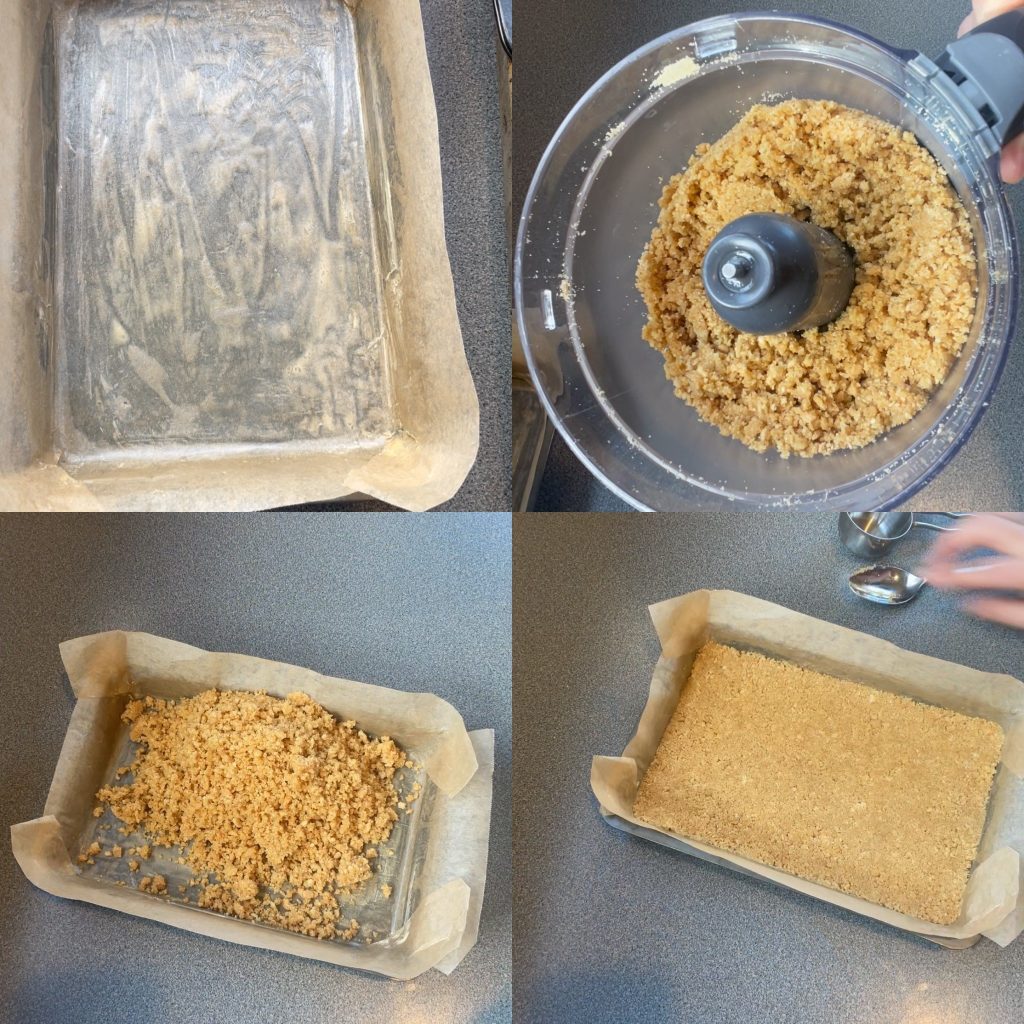
Now you tip all of your mixture into the lined tin and press in firmly. To do this I like using a spoon and the back of a 1/3 cup measure. Make it nice and level. Then cover and place in the refrigerator for 20 minutes while you prepare the topping.
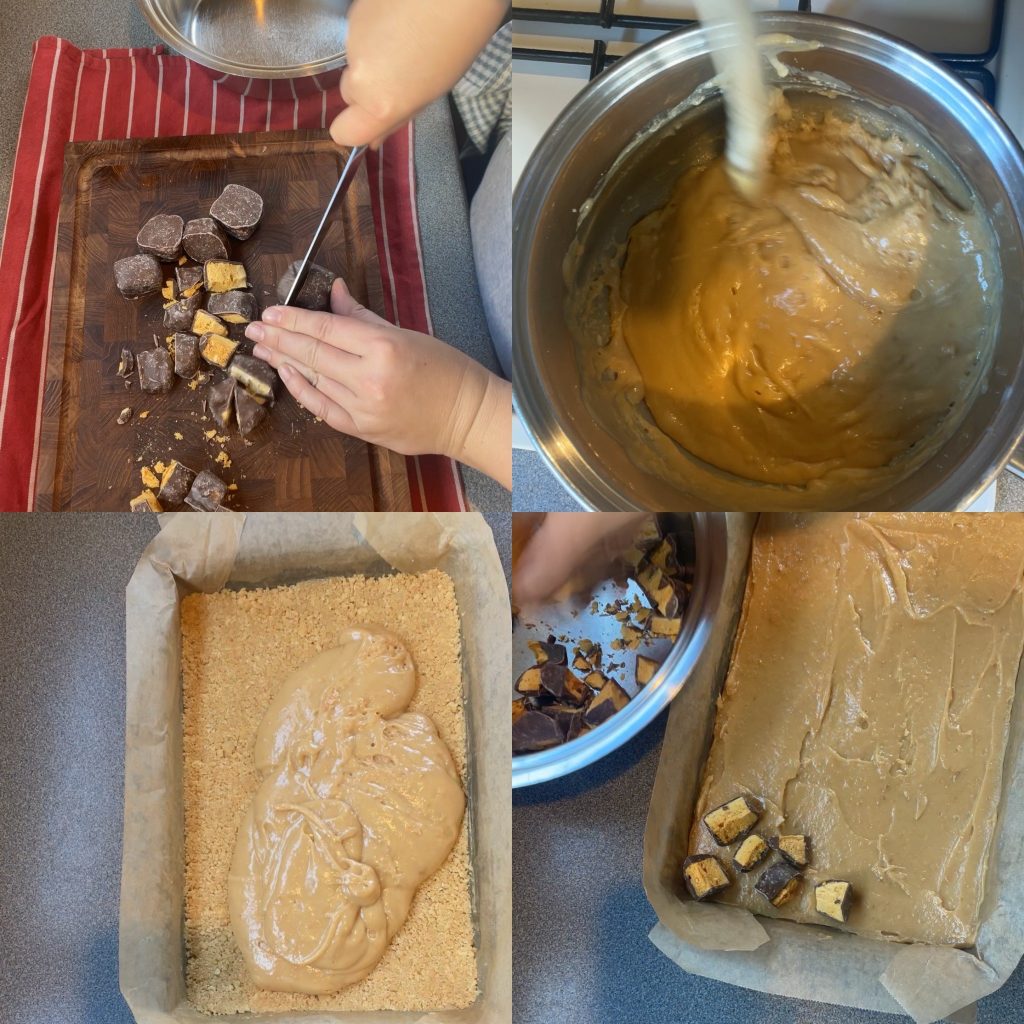
For the caramel topping, place the butter in a pot over a medium low heat, add the condensed milk and sugar. Stir this while it cooks, we are looking for the sugar to dissolve. Which will take around ten minutes. Once the sugar has dissolved, increase the heat to medium and keep cooking for ten minutes. We are looking for it to thicken up and go golden. We need it to change and go thick or it won’t set.
Pour over the chilled base and scatter over the chopped honeycomb pieces.
To set, place in the fridge for a minimum of 3 hours. When ready to serve, I like to use a hot sharp knife to cut the slice. Wiping the knife in between cuts.
Common questions about Caramel Honeycomb Bars:
Can I use different Biscuits? Absolutely most plain biscuits will work here, I have only tried it with Krispies but I think most biscuits such as malt or gingernuts would work well.
Caramel Honeycomb Bars
Ingredients
Base
- 75 grams butter plus an extra 25 grams on hand if needed
- 250 gram pack of biscuits I have used Krispies, malt biscuits are great too
Topping
- 50 grams butter chopped
- 395 gram can sweetened condensed milk
- 1/2 cup brown sugar packed firmly
- 150 grams Pack Choc Honeycomb Bites roughly chopped
Instructions
-
Take a tin, mine is 18 x 28cm and 5 cm deep, grease and line with baking paper. You will need to line the base and the sides, allow little overhang, around 2-3 cm.
-
Take the biscuits and break them in half then add to a food processor, process the biscuits until chopped finely.
-
Melt 75 grams butter in a pot over a medium heat.
-
Add the butter to the biscuits in the food processor. Process until combined.
-
You want the mix to feel like wet sand, IF you feel like you might need a little more melted butter, add 10 grams at a time here and mix again.
-
Tip the mixture into the prepared tin and press in firmly. I like to use the back of a spoon and then the back of a 1/3 cup measure to get into all the spots and make it level. Cover and place in the fridge for 20 minutes to chill while you prepare the topping
-
In a pot over a medium-low heat, add 50grams butter, condensed milk and sugar and cook, stirring until sugar has dissolved, around 10 minutes. Increase the heat a little to a medium heat, keep cooking, stirring constantly until it thickens and is golden, around 10 minutes.
-
Pour over the chilled base.
-
Scatter over the cut honeycomb bites.
-
Set aside to cool for 5 minutes, then cover and place in the fridge.
-
Leave to set for minimum of 3 hours or overnight.
-
Cut into bars and serve.
